Make Your Own Football Memorabilia
Are you looking for football memorabilia to dress up your office or commemorate a special player that’s led your team to your fantasy league’s championship? Don’t spend your hard-earned money buying memorabilia. Make your own. It’s not difficult, and it’s fun. In this post, I’ll show you how to make a black & white contrasting pencil drawing using the grid technique.
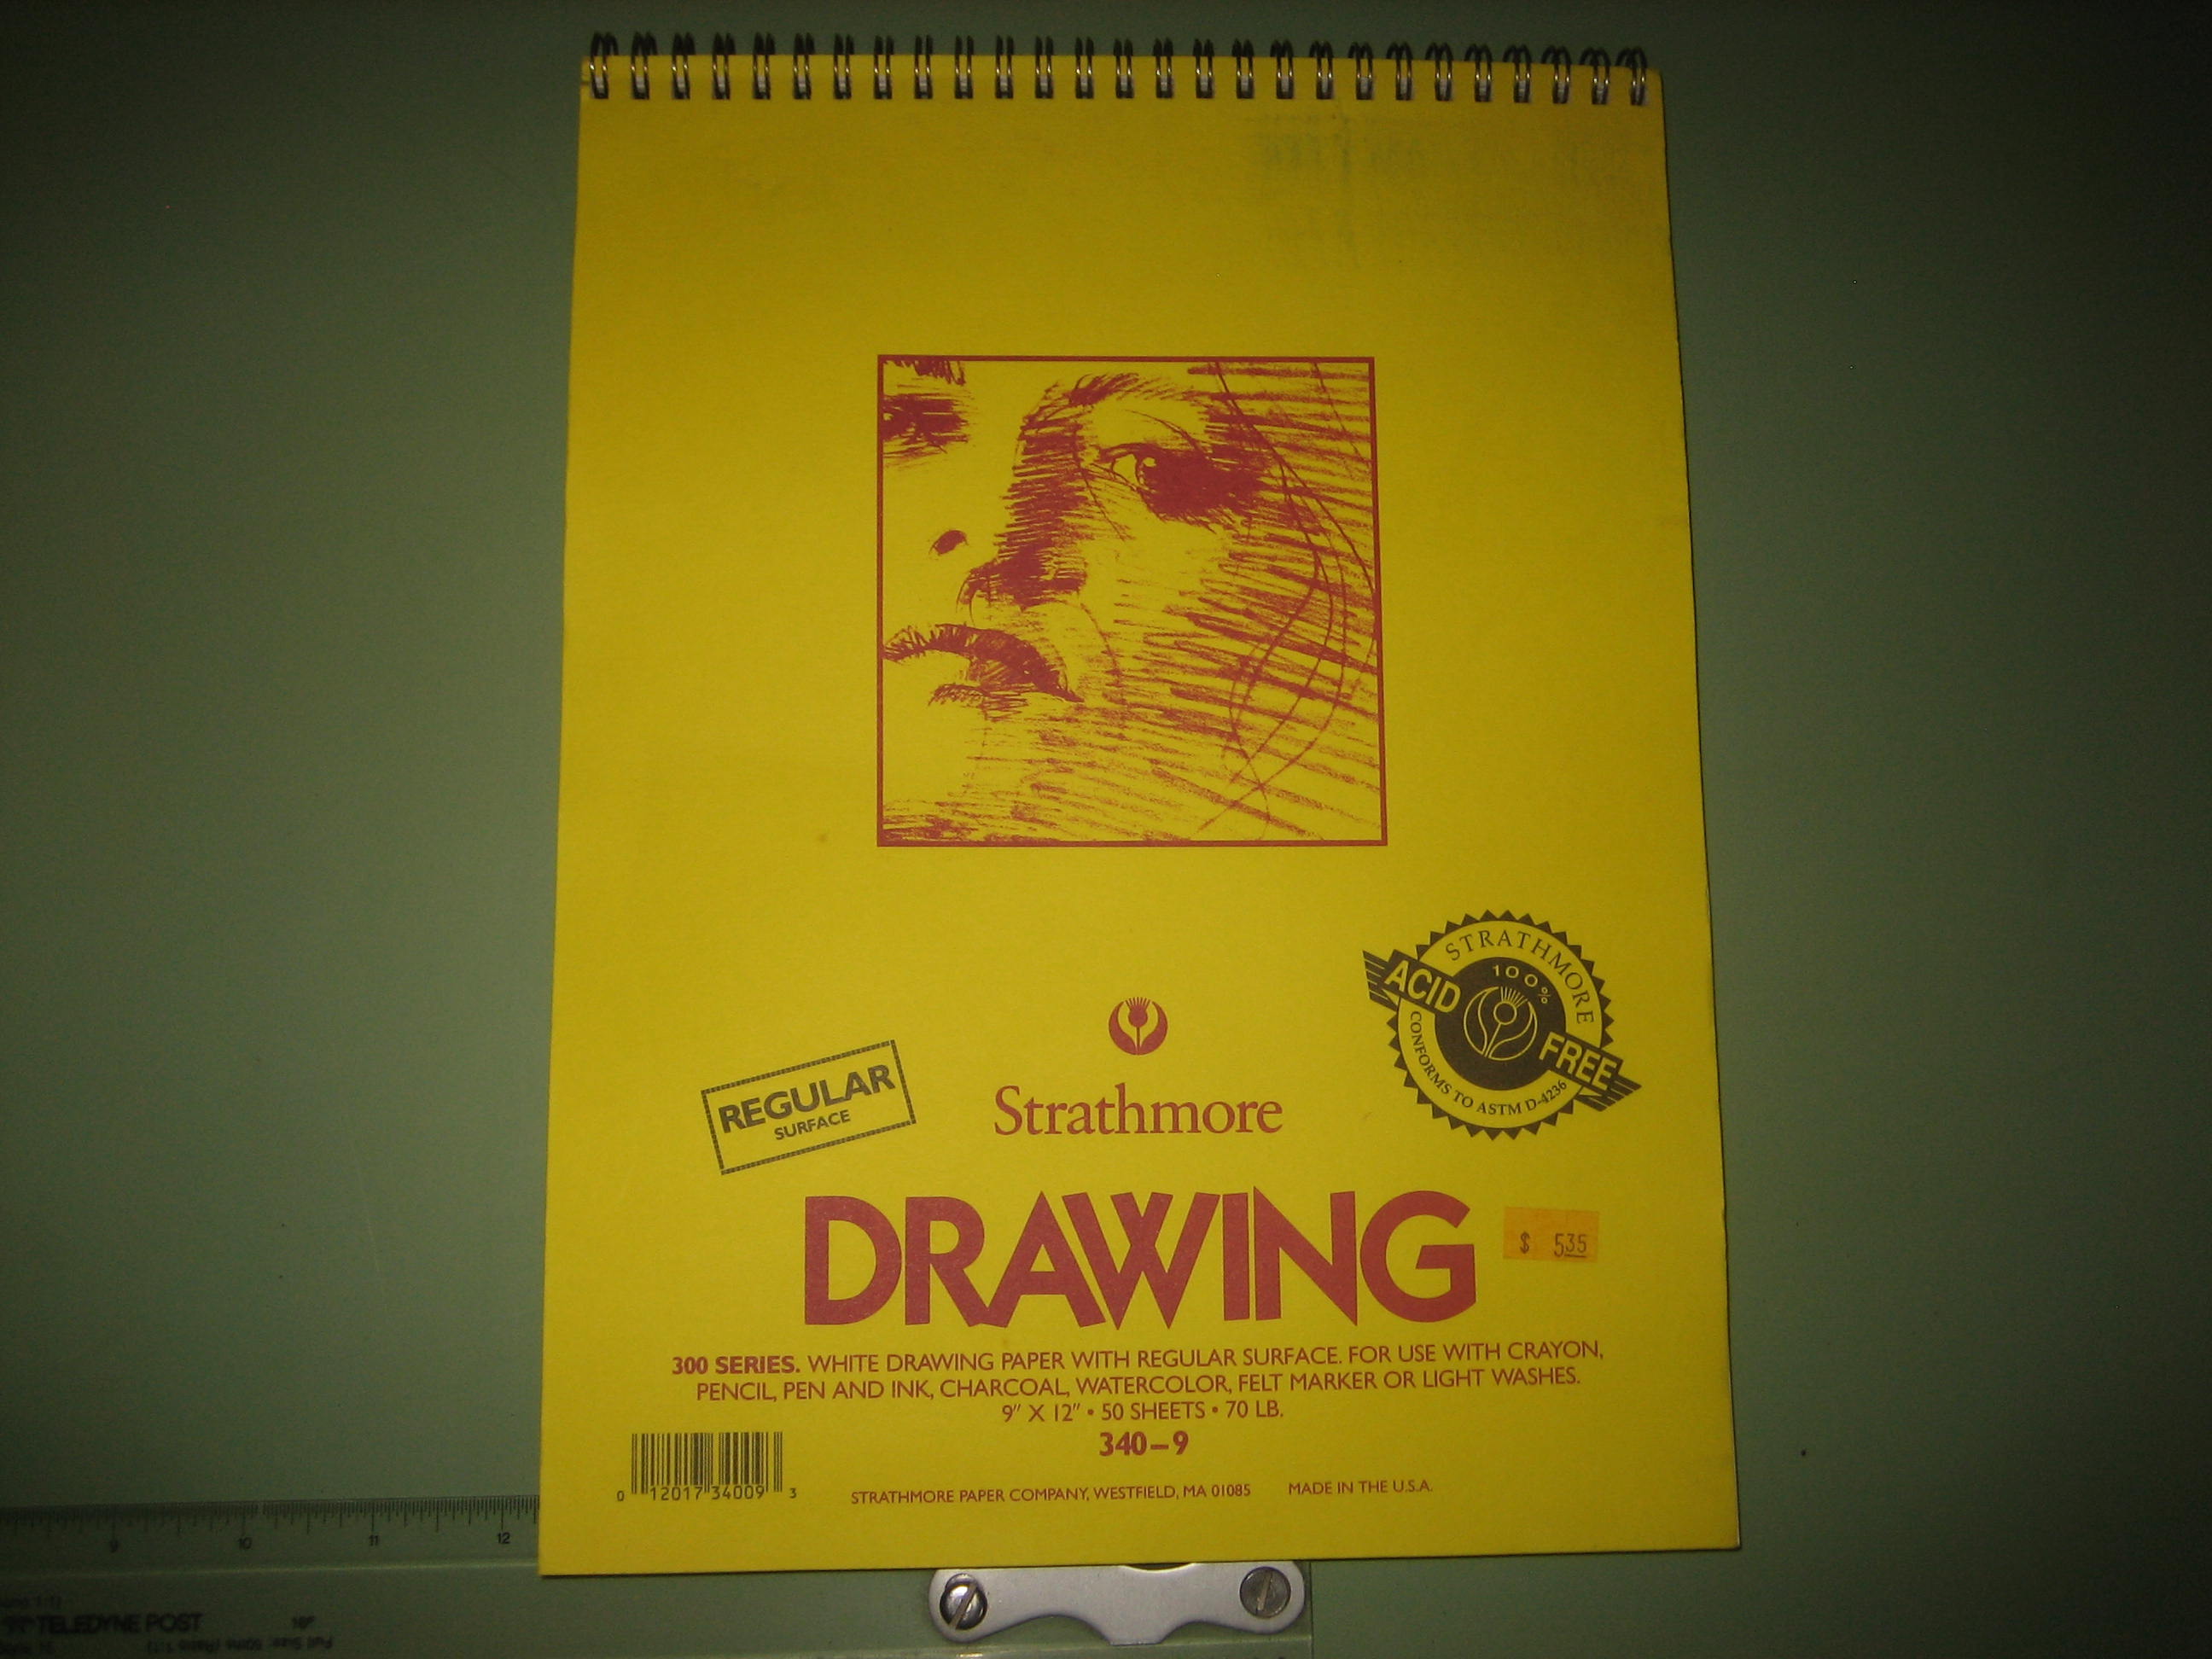
I used this 30-year-old paper for my project, but recommend using Strathmore 400 series.
The first thing you’ll need is some drawing paper. Do not use ordinary printer or copier paper. Plain paper does not have enough texture for the graphite to properly stick. Instead, invest in some inexpensive drawing paper from your local art store. I recommend using Strathmore 400 Series. You should be able to pick up a 50-100 sheet pad for under $10 bucks. If you’re going to create something that you intend to last for the ages, this paper may not be the best choice. Over time it will yellow and become brittle. Serious artists use it only for practice. For our purposes, however, Strathmore 400 Series is just fine. I have some 30+ year old Strathmore drawing paper from my college days and the paper is still very good.
Be careful with your drawing paper. Handle it only on the edges, and wash your hands often. Try not to touch where you’ll be drawing. Because of oils in your skin, the graphite will not adhere consistently wherever you’ve touched the paper. You may scoff at this concern, but it is simple advice worth observing. It truly is important. Handle your paper carefully.
The next things you’ll need are some drawing pencils. Pick these up at the same art store where you’ll buy your paper. For this project, you’ll only need two: Use a hard 4H for light sketching, and a softer 4B for your dark finish lines. There are darker pencils, but I’ve found that travelling too far down this spectrum will actually make the lines look less dark because the graphite reflects too much light. I.e., the dark leads are too shiny. A 4B pencil for your finish lines is about right.
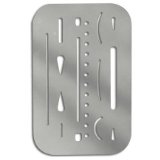
A stainless steel eraser shield.
Before you leave the art store, also pick up an eraser and eraser shield. I prefer the Staedtler Mars stick eraser. It uses a white, latex-free soft vinyl that erases graphite beautifully. An eraser shield is a small, thin stainless steel sheet with miscellaneous holes and slots that allow you to “mask off” areas of the drawing on the fly. It gives you the ability to erase lines very precisely. You can pick up both of these for under $10 bucks. Even when I’m not working on an art project, I keep a stick eraser and shield in my office along with my pens and pencils. They are very handy office tools.
Once you round up your supplies, the next step is to find yourself a photograph. You’ll need a black & white picture for this project, but if you can find only color, it will suffice. I’ll explain later how to convert it to a black & white image.
Try to find a picture that has good contrast between the dark and light shades. This will make it easier to create a realistic picture. Adrian Peterson is on my fantasy football keeper league roster, so that’s whom I searched for. I plugged in his name, hit the ‘images’ tab at the top of the Google screen, and scrolled through the pictures until I found one I liked.
Left-click on the image once you find it. When you do, Google may give you options for different sizes. Choose the largest picture you can find, right-click on the image, and choose ‘Save Image As’ from the pop-up menu. Save it to a location where you’ll remember such as your local desktop.
Open the image in a program that supports the type of image you’ve saved. I use IrfanView. It’s a powerful little viewing package that works with a myriad of image types. Best of all, it’s free. You can download it at www.irfanview.com.
The picture I found for my project was in color. I converted it to black & white using IrfanView by selecting ‘Image’ > ‘Convert to Greyscale’ from the drop-down menu. Print the image once you have it ready to go.
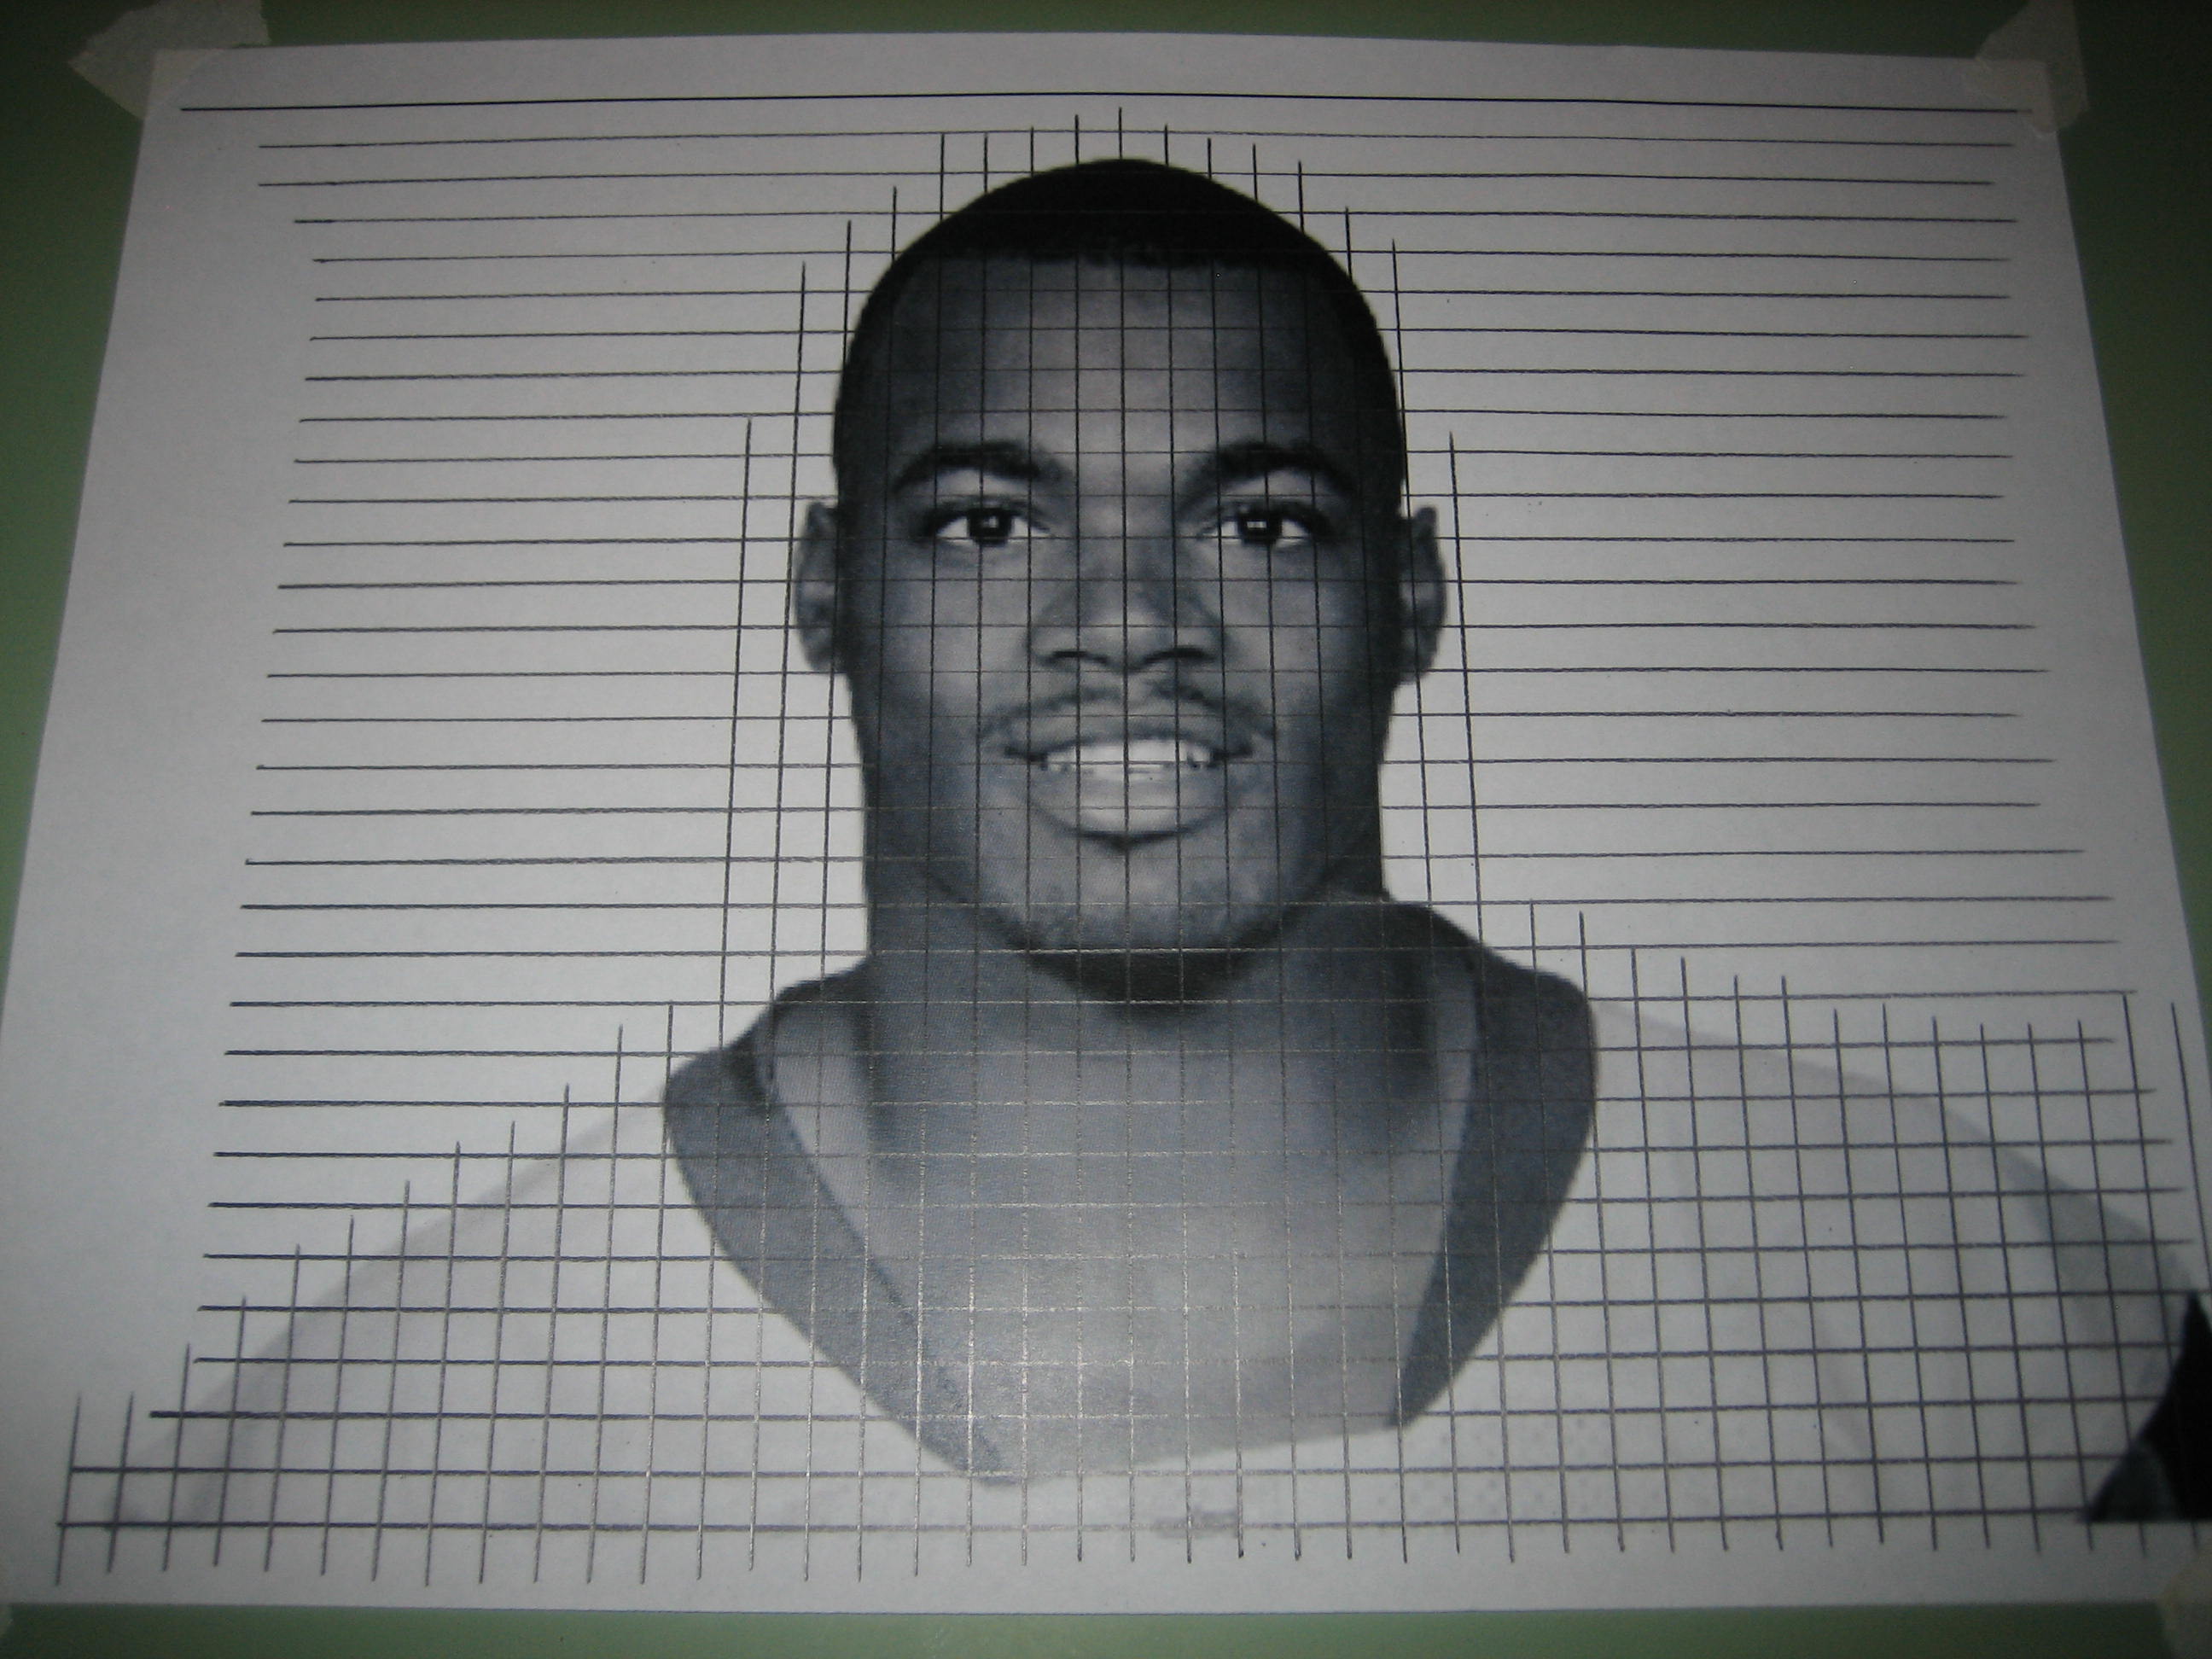
Make a grid on the original picture…
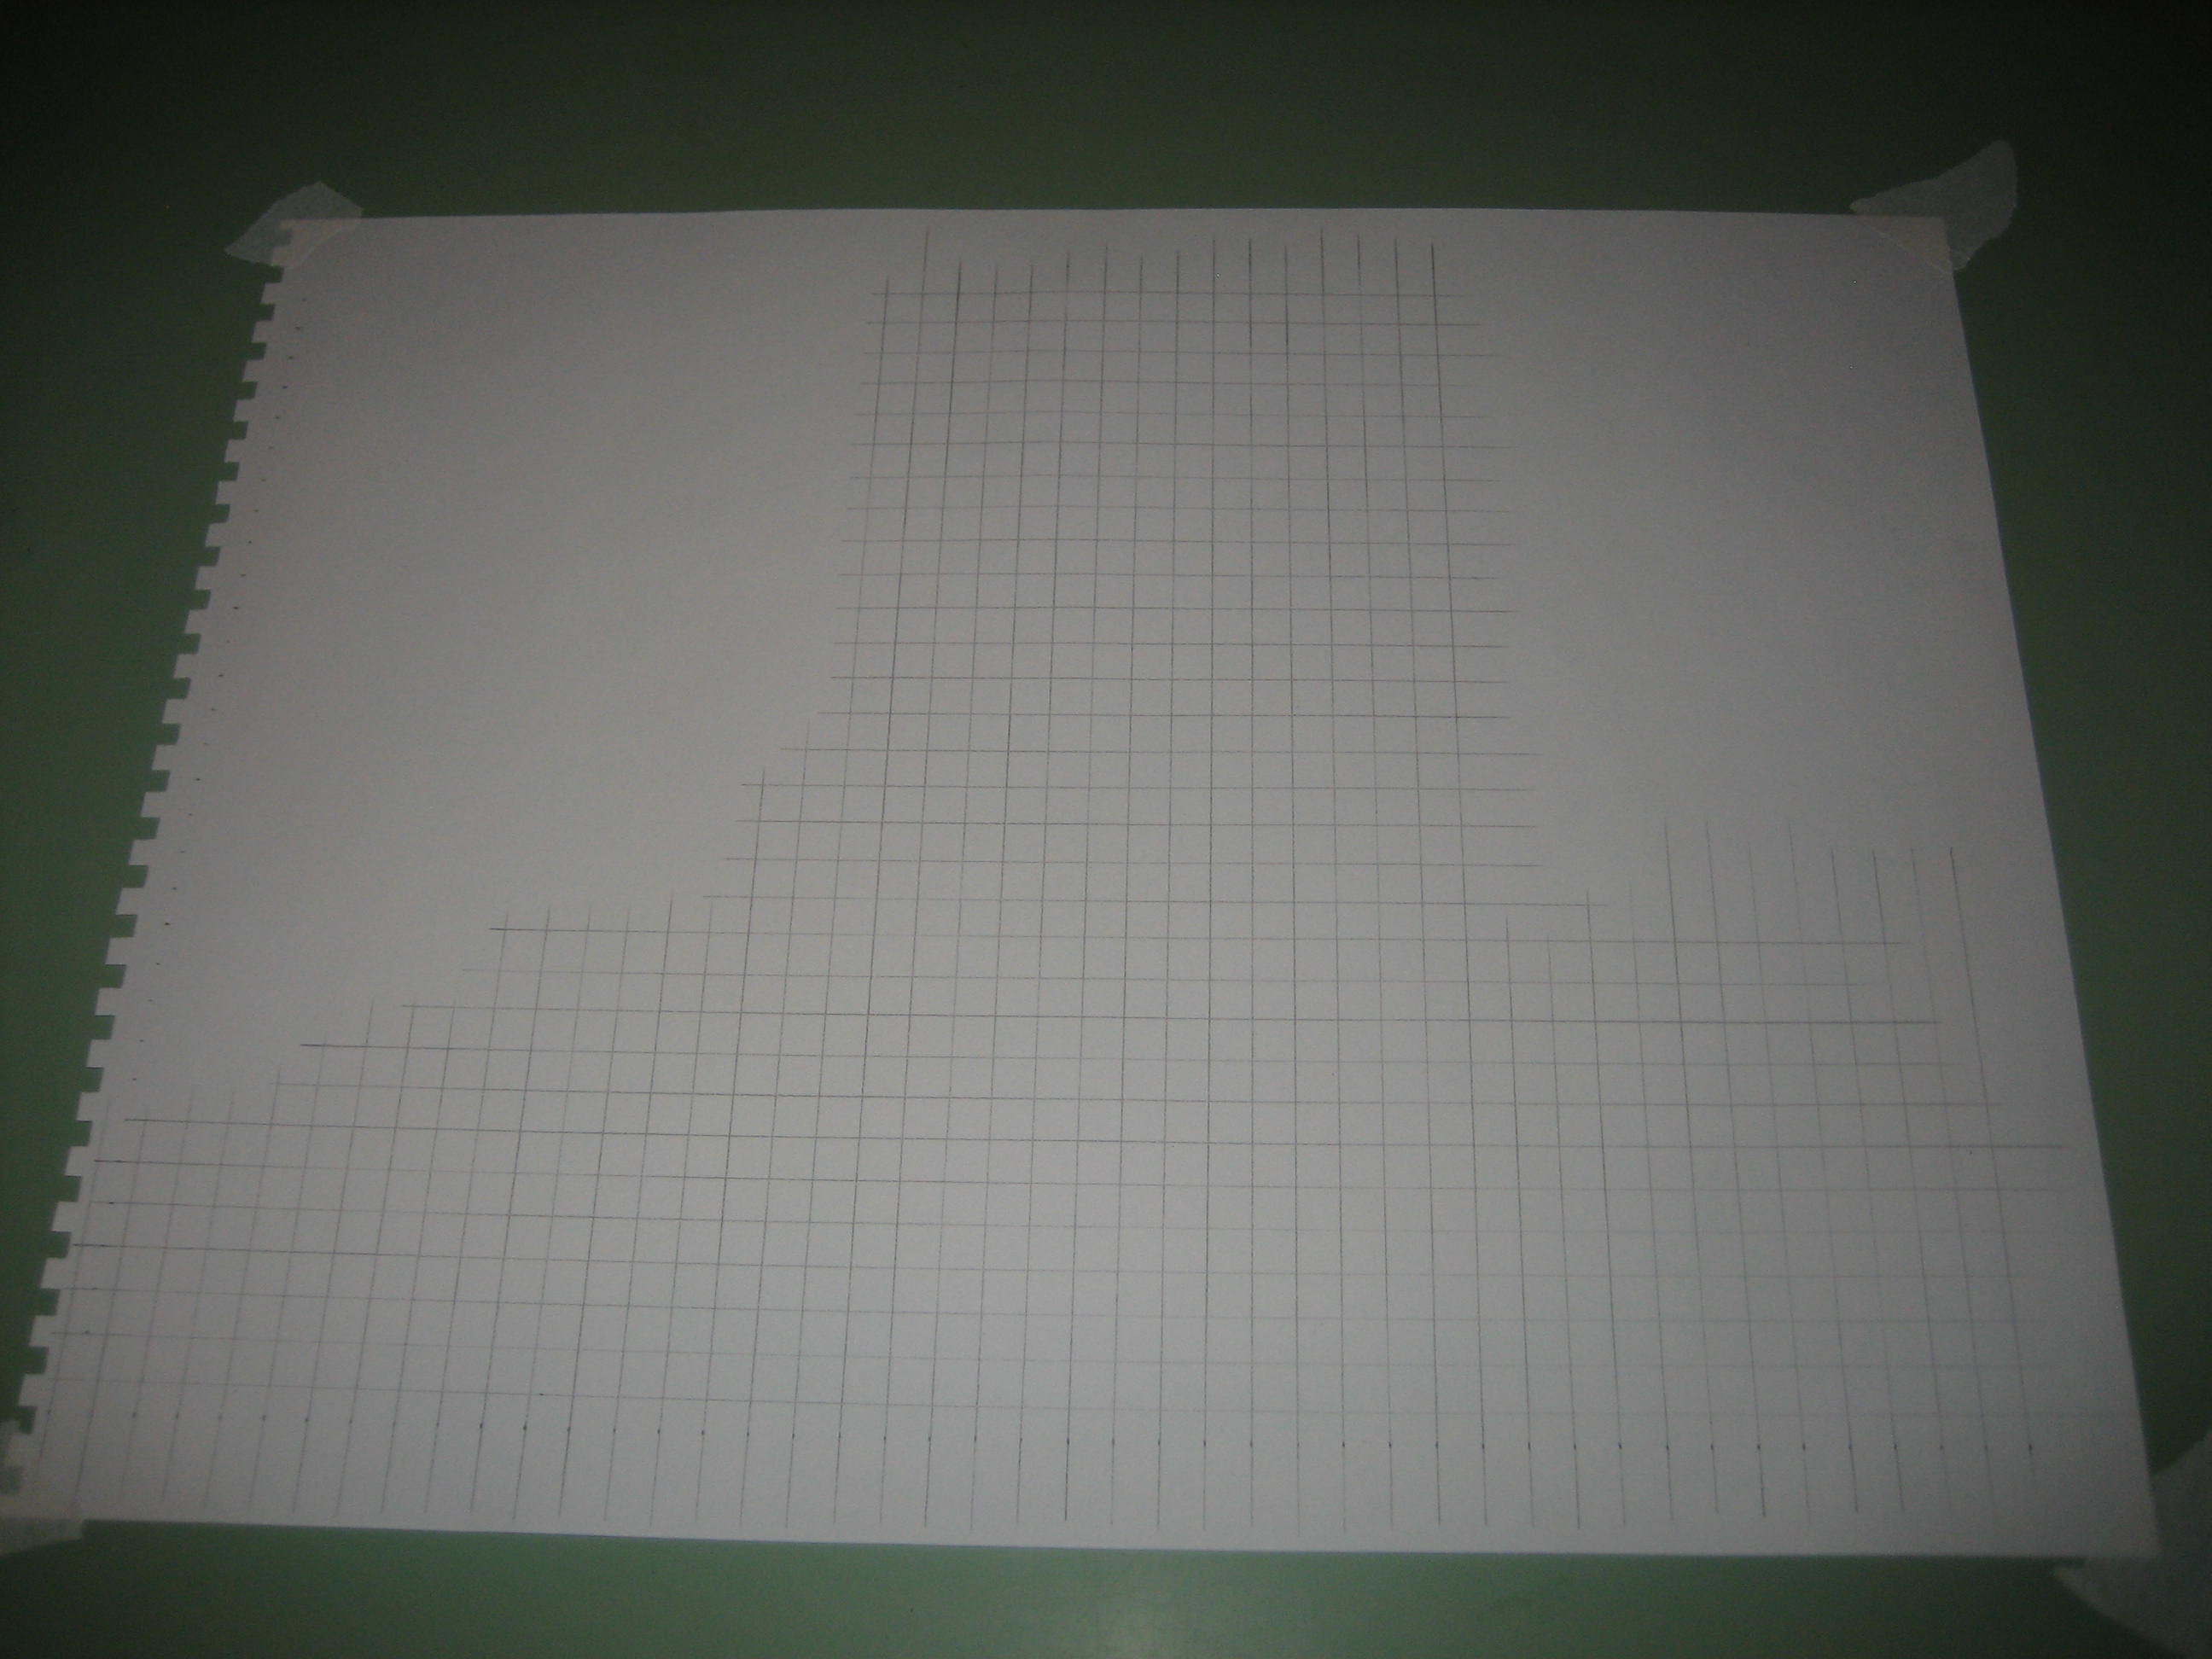
…And duplicate the grid on your blank sheet of drawing paper
Next, take a ruler and mark 1/4-inch increments along the width and length of the picture. Using a straightedge and your 4B pencil, carefully create a grid on top of the picture. Repeat the grid using your light 4H pencil on a blank sheet of drawing paper. If you want your finished drawing to be larger or smaller than the original, increase or decrease the grid size on your drawing as desired.
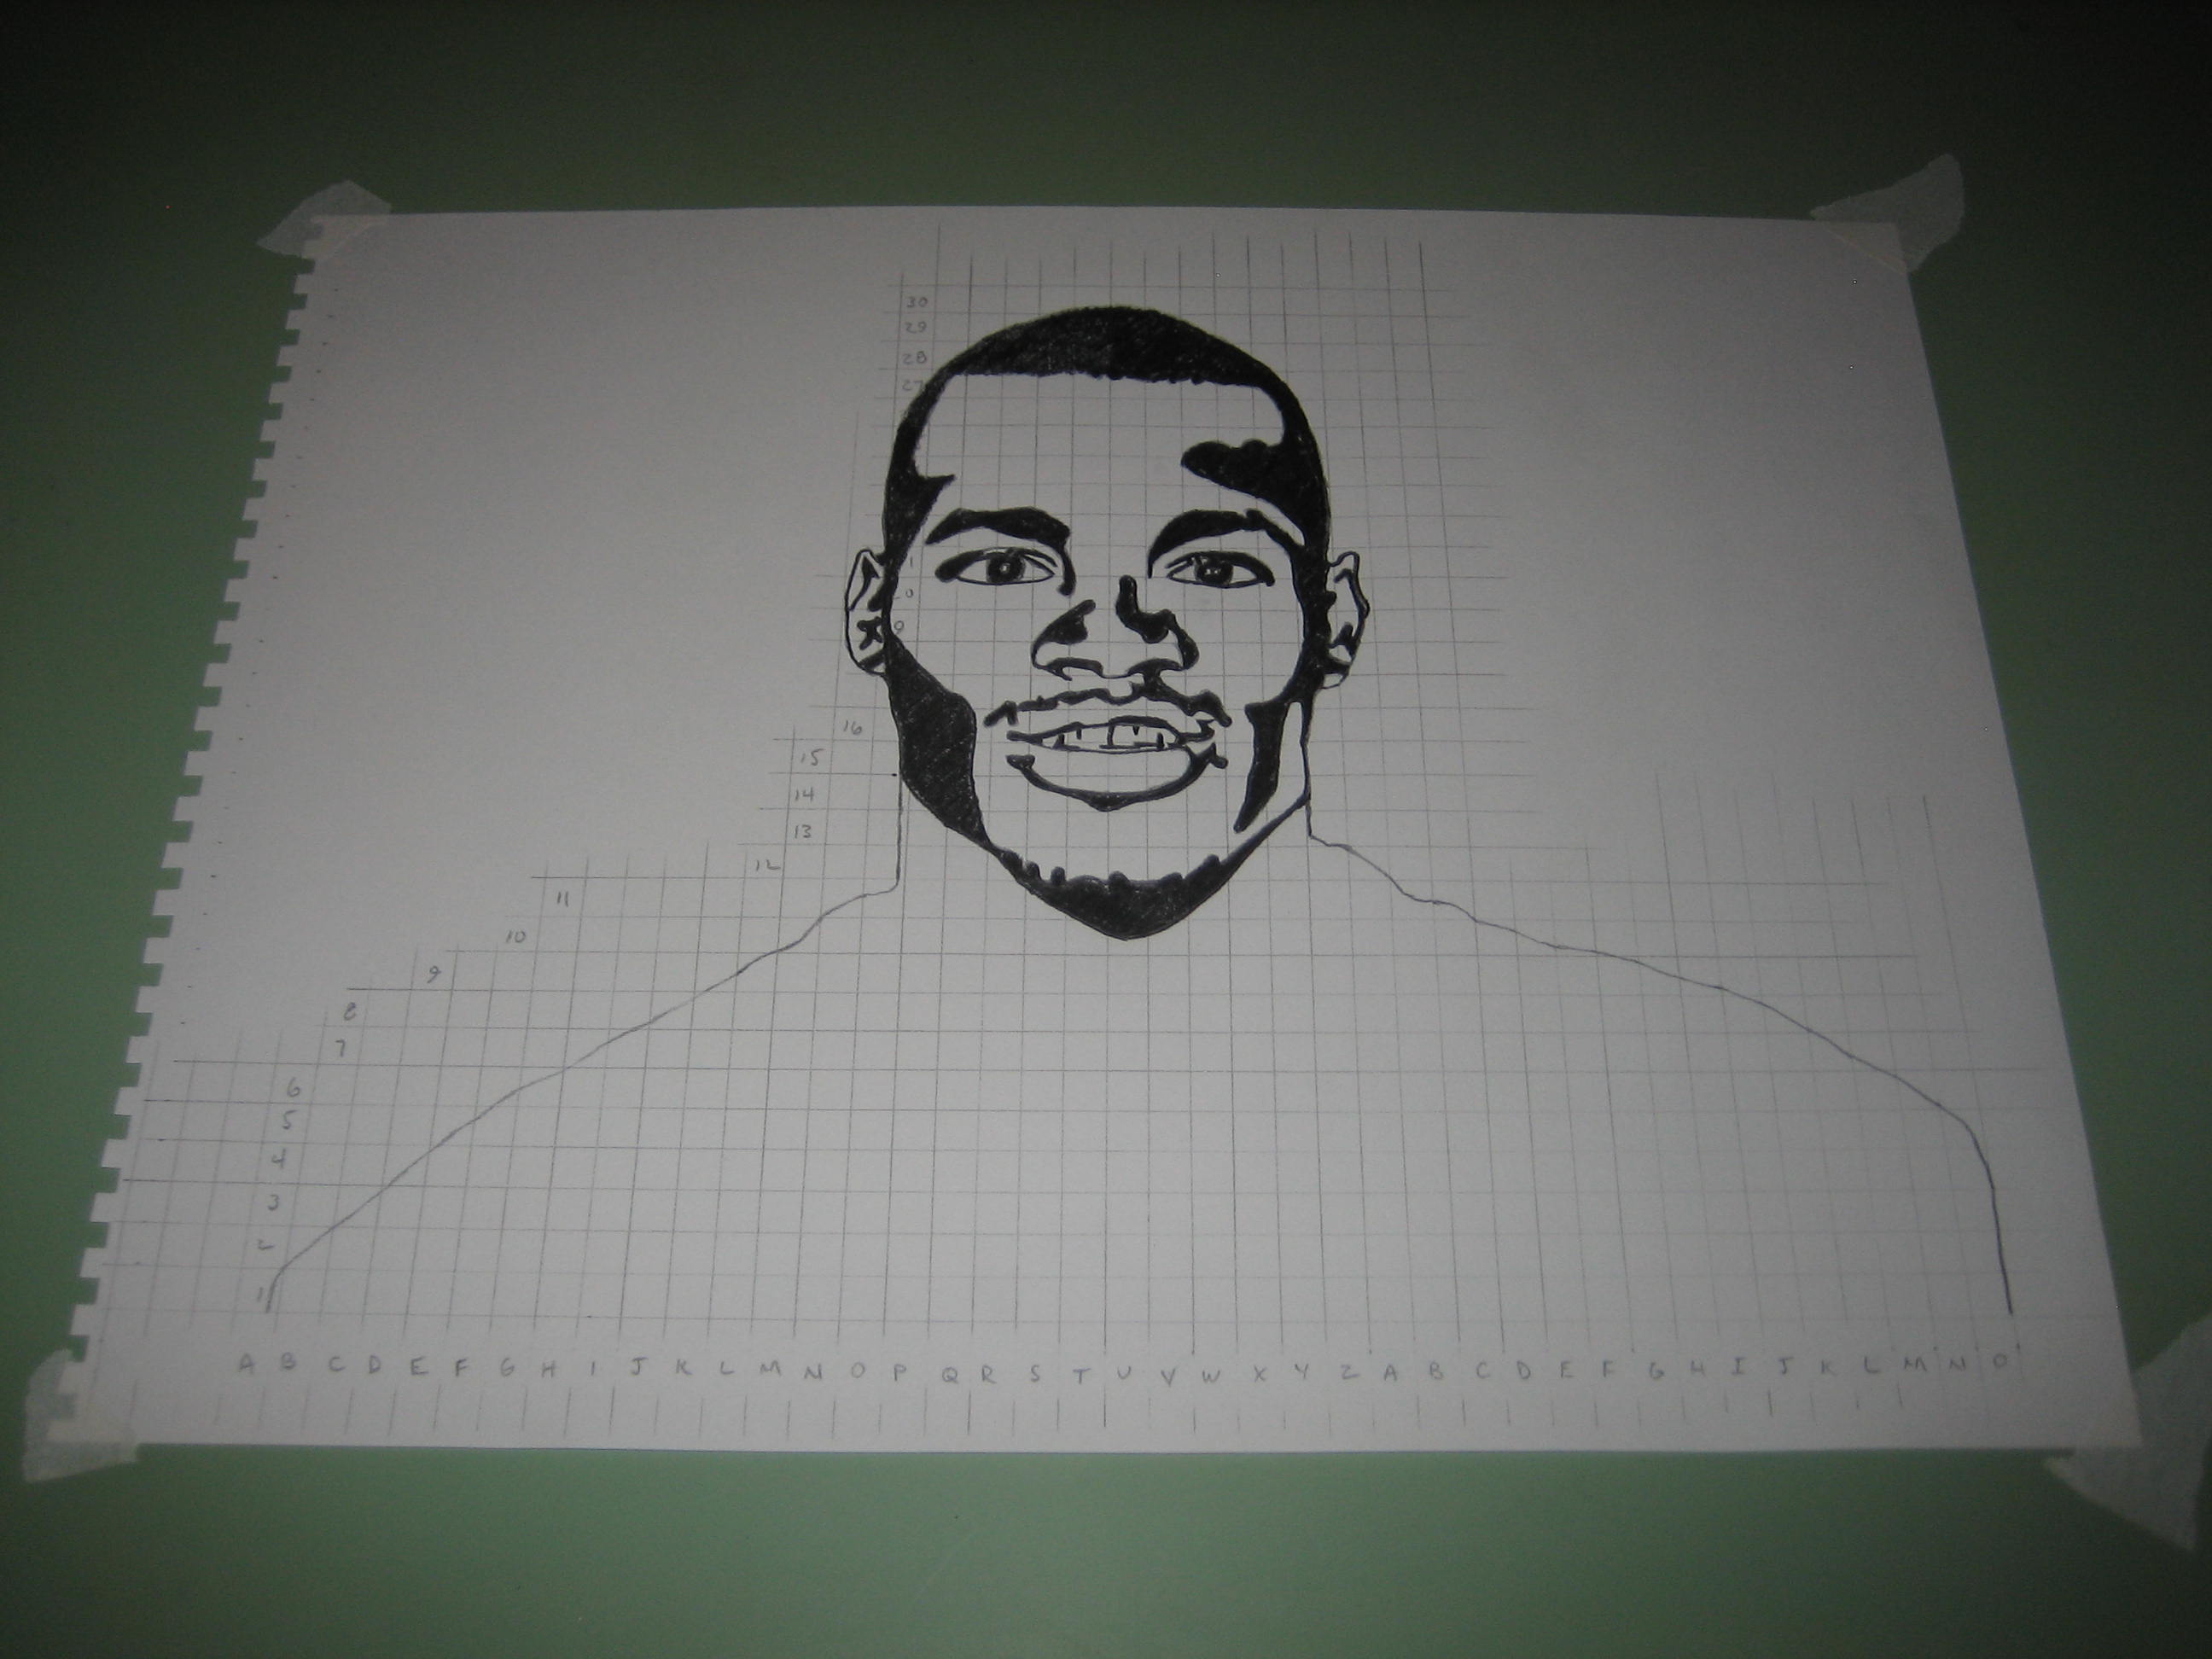
Darken each grid square on your drawing if the corresponding square on the original is dark.
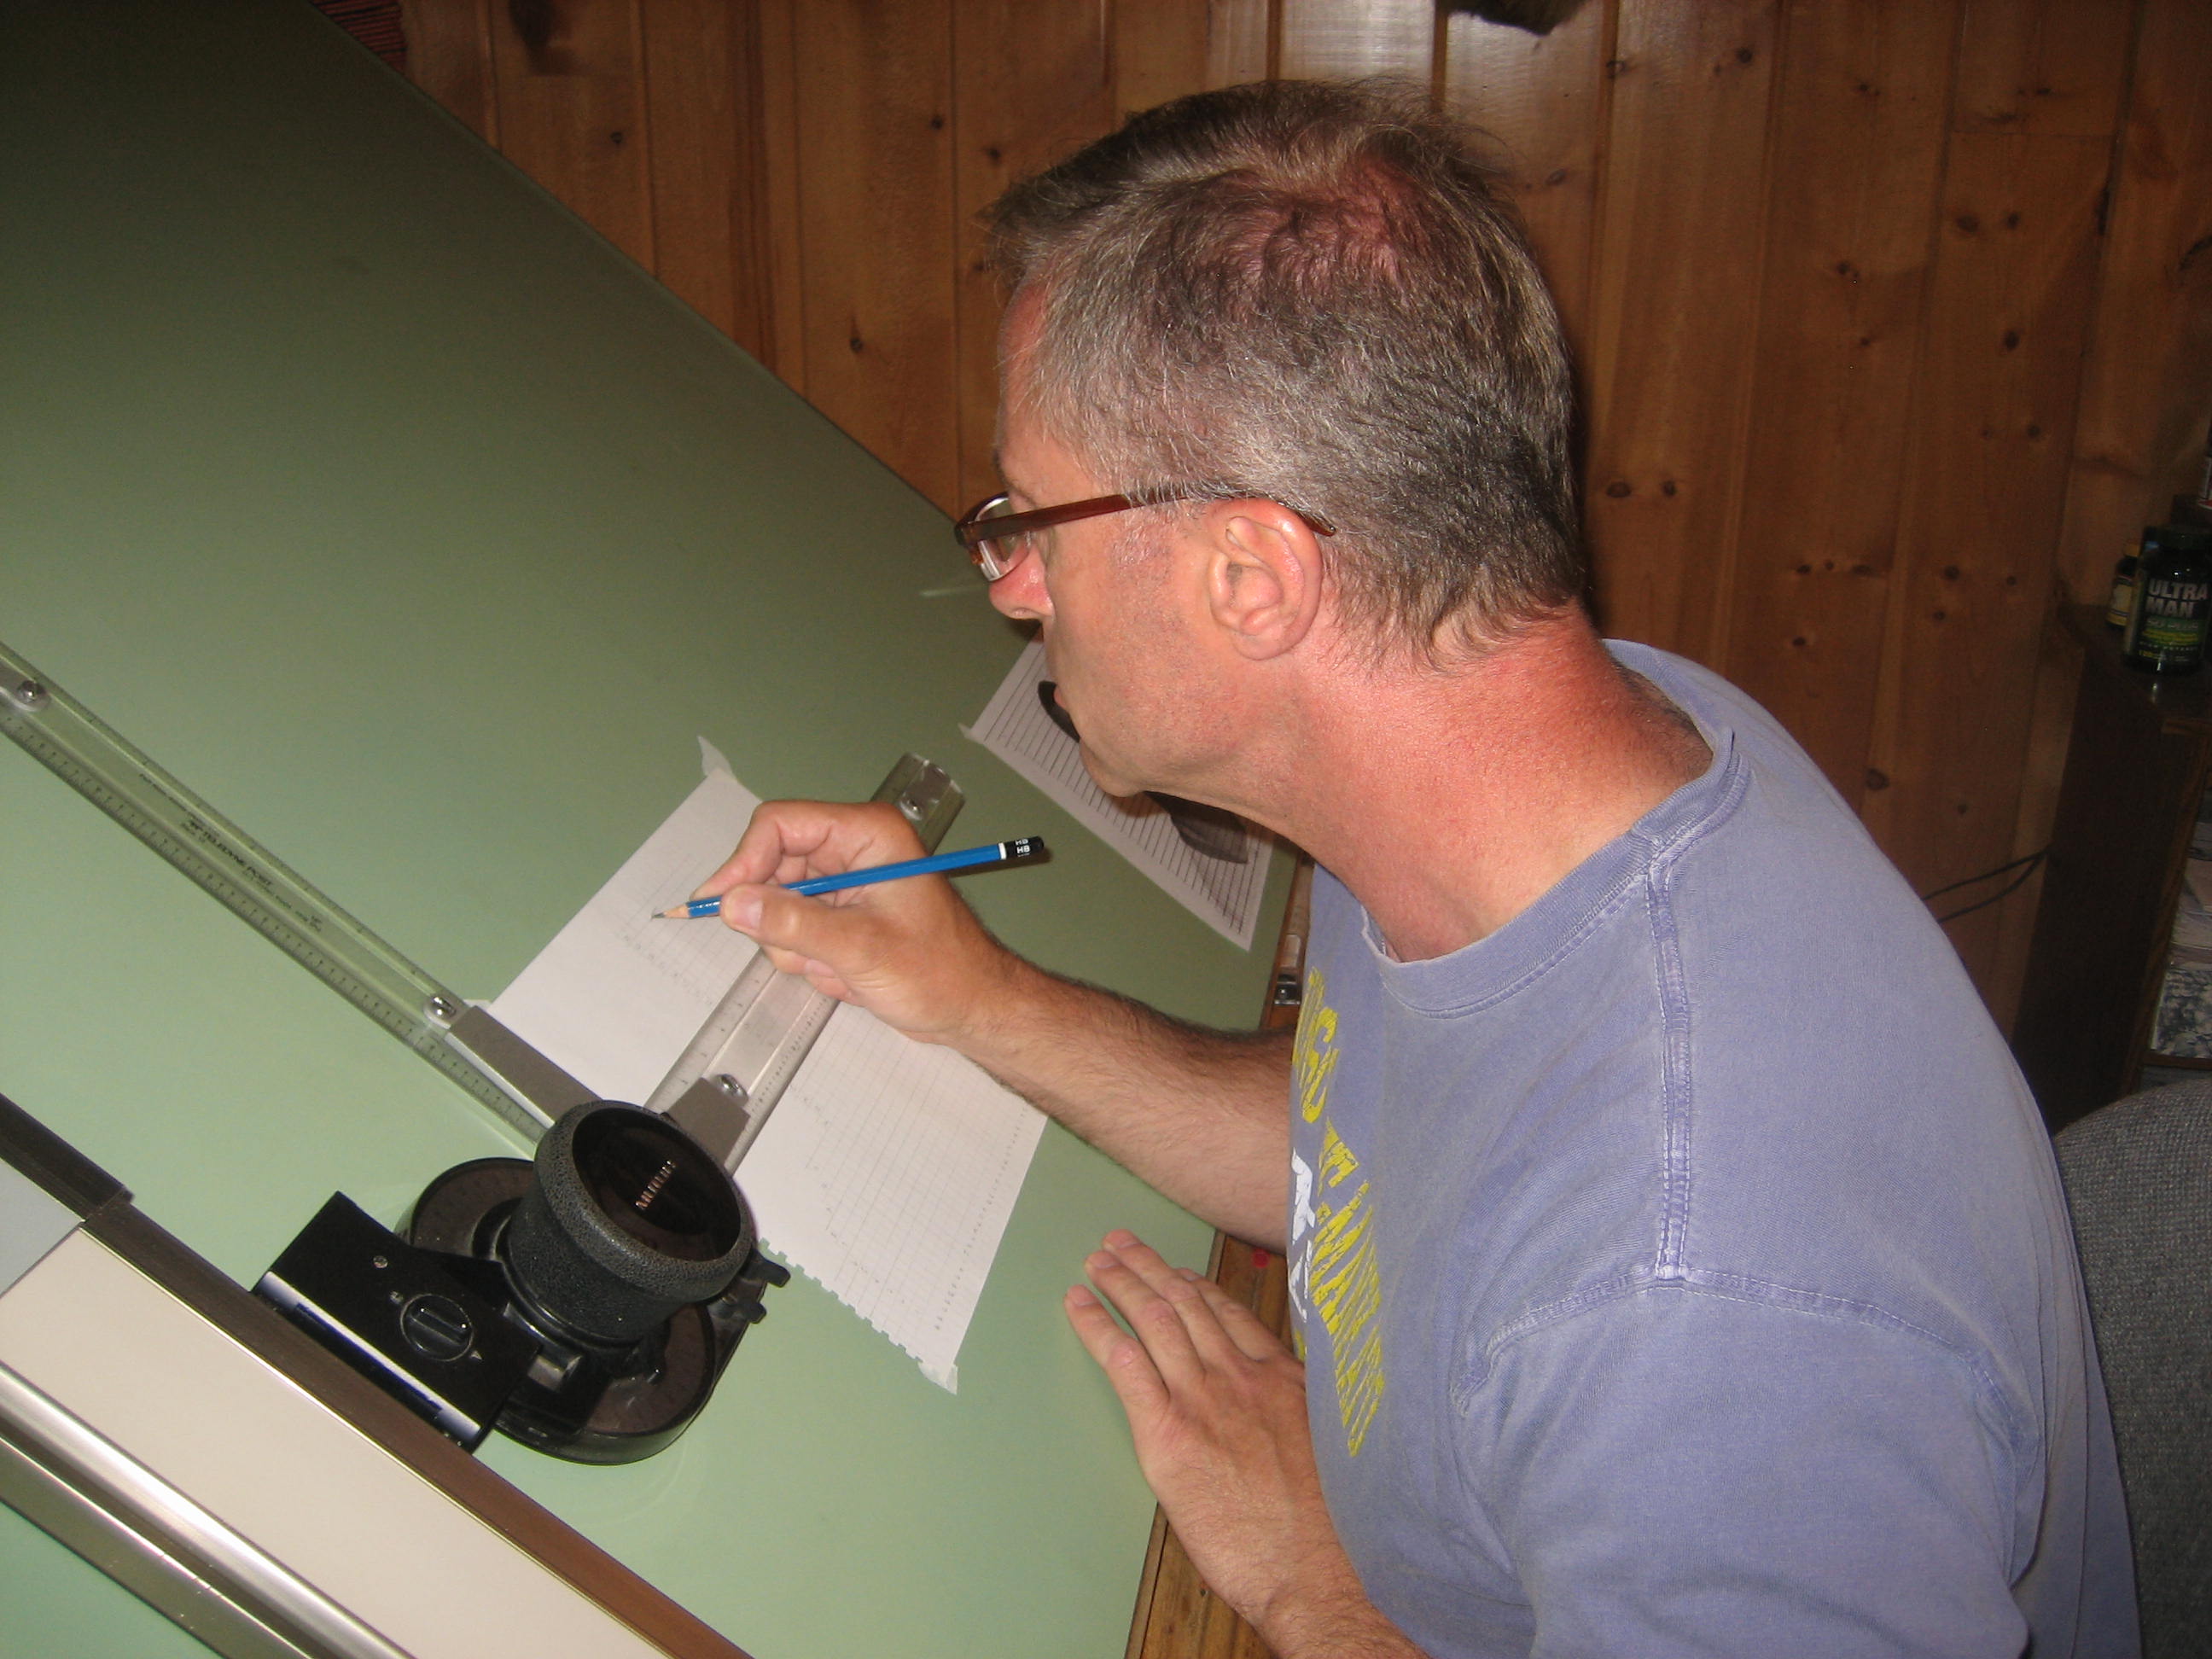
Now comes the fun stuff! Look at one of the grid squares on the picture. Is the shade of this square closer to black or white? If it is closer to black, darken the corresponding grid-square on your drawing using your 4B pencil. If it is closer to white, leave it blank. Continue this process for every square. Between dark and light areas, there will be transition squares. Darken only the applicable dark portion of transition squares. Smoothly join transition squares from one to the next. If you don’t have transition squares, you’ll end up with an unrecognizable drawing of giant pixels.
If you are right-handed, start your drawing at the top-left. Left-handed individuals will want to begin at the top-right. This will help prevent you from smearing the graphite as you work.
Have confidence that your drawing will begin to take shape.
Before your drawing is too far along, you may look at what you’ve done and question whether your drawing is panning out. Keep the faith. As you continue, you’ll be amazed at how your picture slowly takes shape.
The final step to your drawing is erasing the grid lines. This is where the stick eraser and eraser shield come into play. Cover the drawn areas you want to protect with your shield and carefully erase the grid lines.

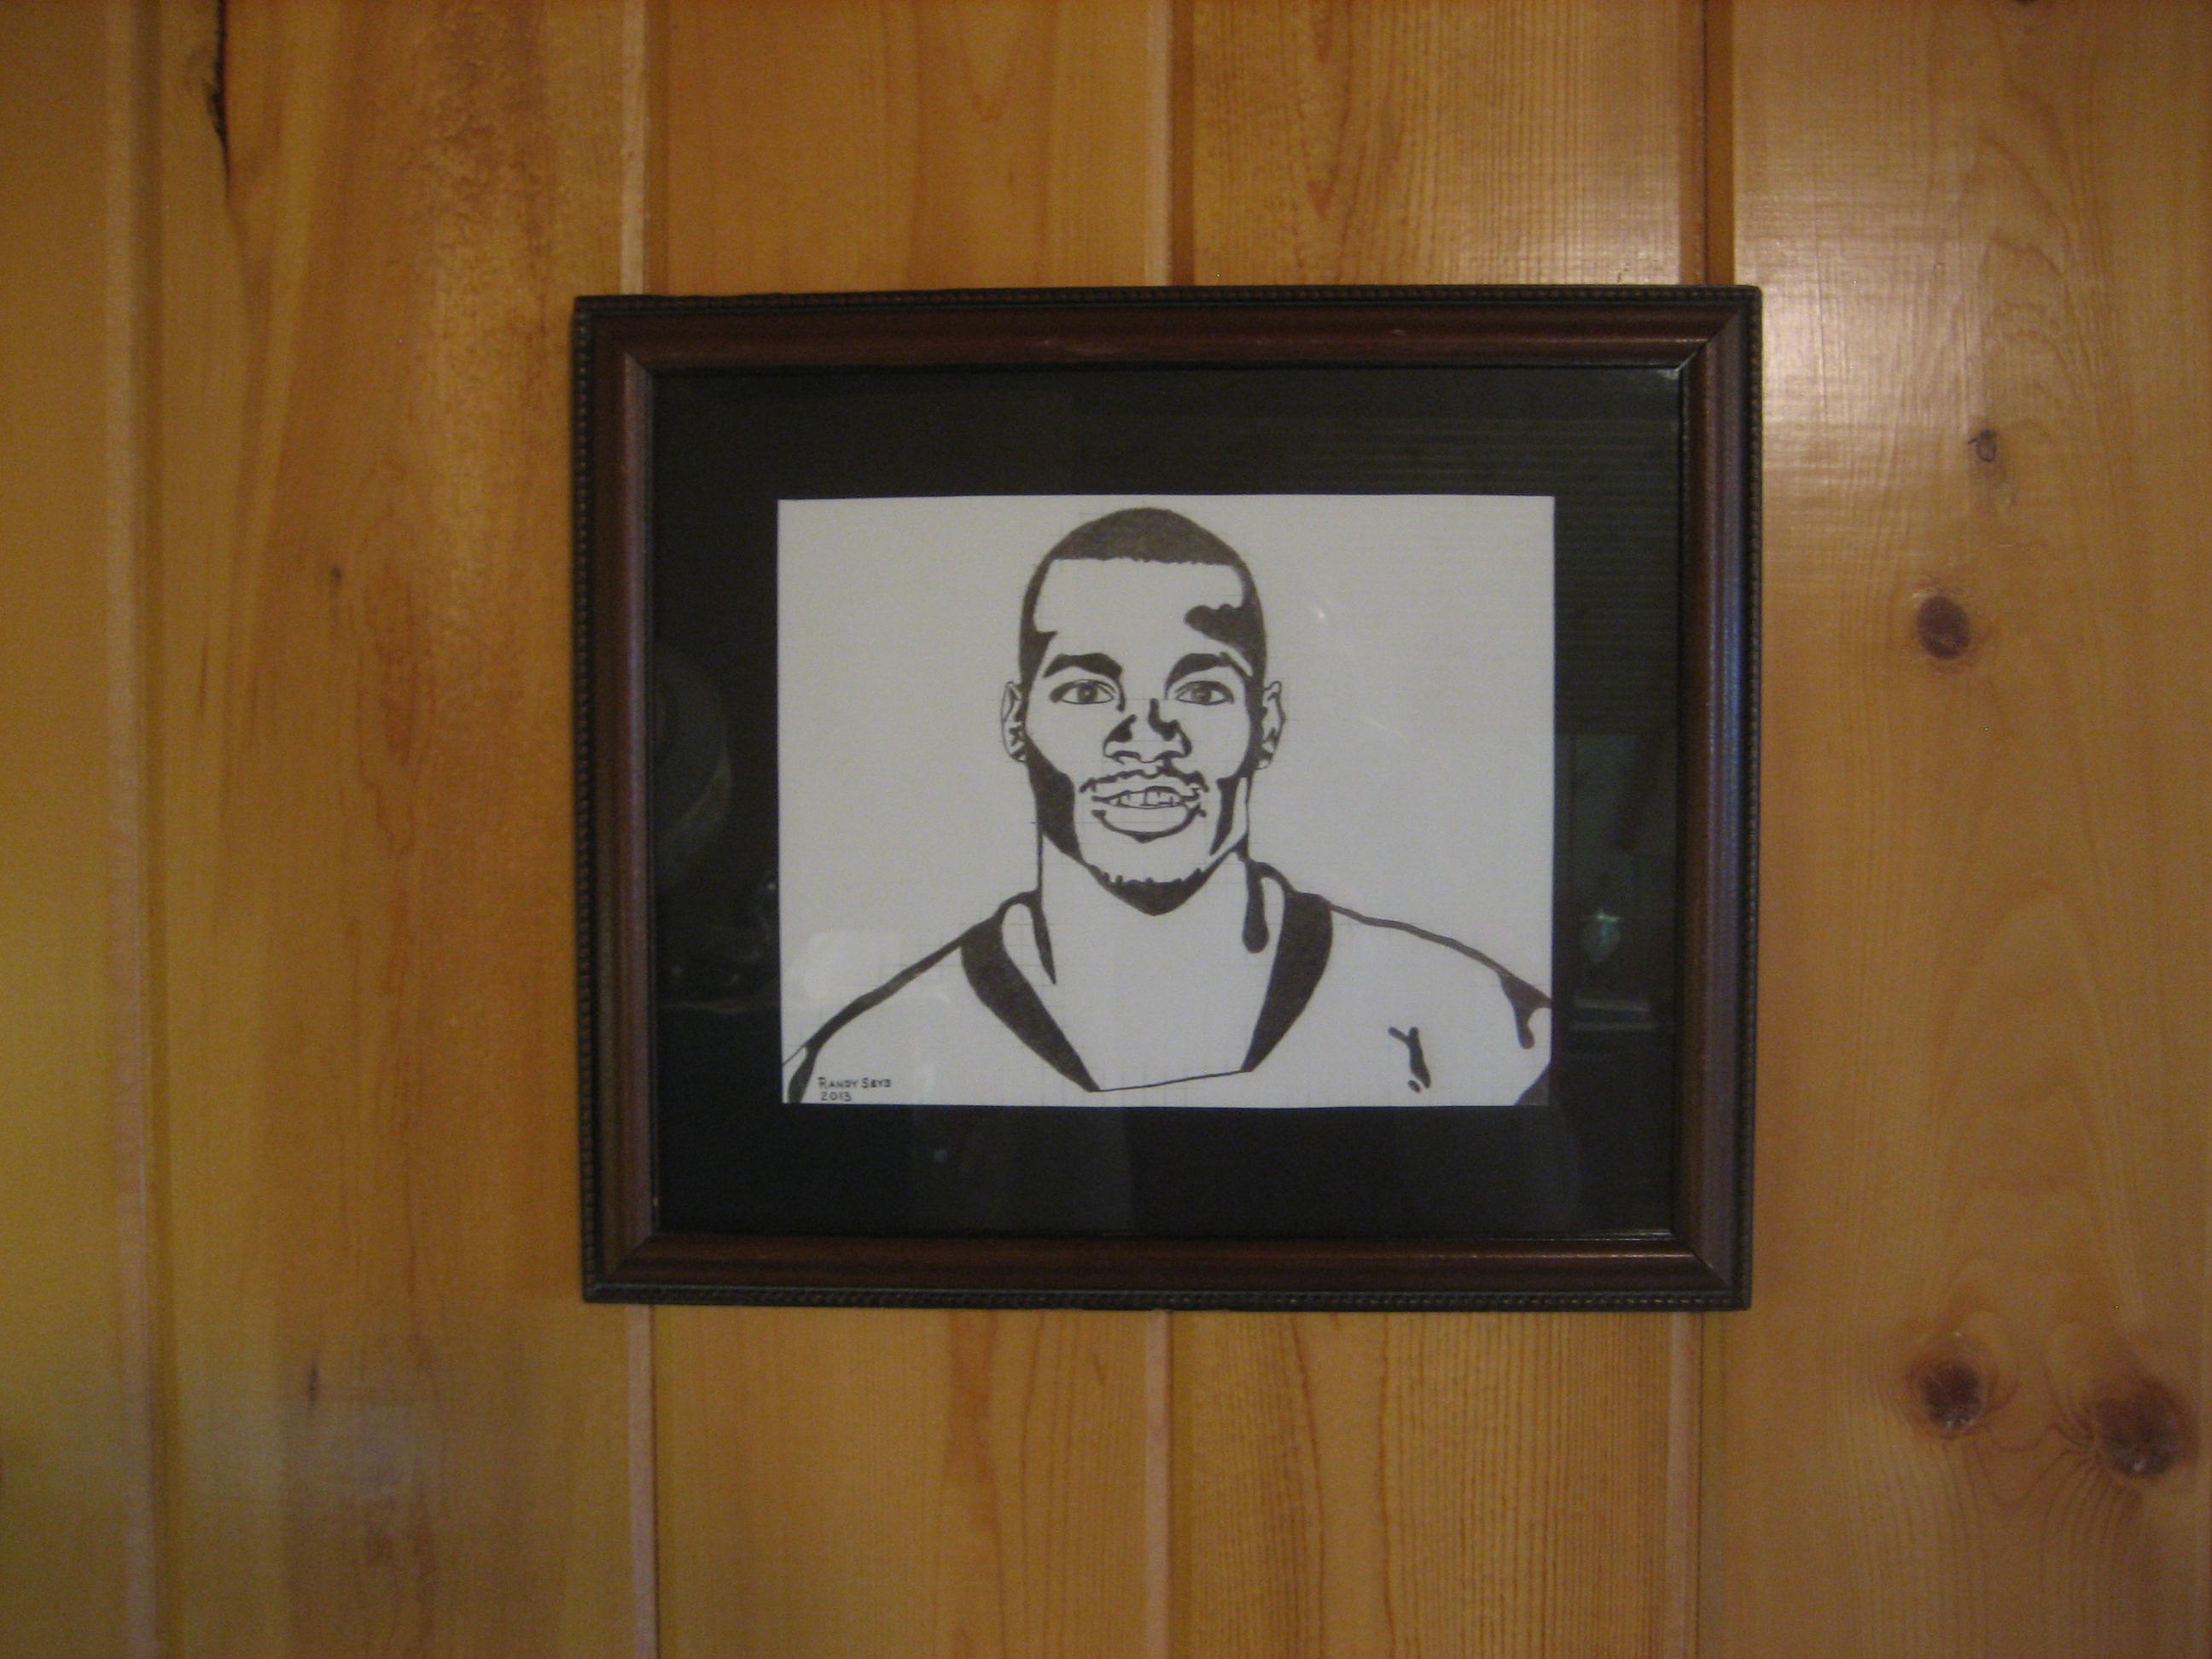
The completed work on display.
Lastly, you’ll want to display your masterpiece. Of course there are many options. I had a picture frame lying around, so that’s what I used. Rather than spending a ton of money on expensive paper matte, I purchased a sheet of black textured paper from the art store, and cut it to shape with a straightedge and X-Acto Knife. This created a nice, black border around my drawing. The paper set me back only $2.00 and some odd cents.
That’s it for this post. I hope I’ve inspired you to make your own black & white contrasting drawing. If you do, forward me some pictures. I’d love to see how it turned out.
As always, run to daylight.
~Randy